一、安装环境
(一)直接ISO镜像安装包:
VMware-VMvisor-Installer-7.0U1c-17325551.x86_64.iso
(二)自定义镜像安装包
1.VMware vSphere Hypervisor (ESXi) Offline Bundle(离线包):
VMware-ESXi-7.0U1c-17325551-depot.zip
2.VMware-PowerCLI
3.驱动文件
以上相关的组件分享下载地址:
链接:https://pan.baidu.com/s/1tc3M5A8M0lo4_GDe2Um1QQ
提取码:x004
二、直接ISO镜像安装包
使用USB启动盘烧录软件将镜像烧录至U盘,即可将ESXI7 ISO镜像安装到裸机服务器上。
三、自定义镜像安装包
1.安装VMware-PowerCLI
vmware提供官方自定义镜像打包工具VMware-PowerCLI,可通过以下两种方式进行安装:
1.1在线安装
在windows PowerShell控制台输入如下命令在线安装(在线安装速度比较慢)
Install-Module -Name VMware.PowerCLI
1.2离线安装
下载VMware-PowerCLI离线包,地址:https://code.vmware.com/doc/preview?id=13312,也可从分享网盘中下载
在windows PowerShell控制台输入如下命令,查看PowerShell模块路径
$env:PSModulePath
将下载文件解压到PowerShell模块路径,比如C:\Program Files\WindowsPowerShell\Modules,并在该目录中打开PowerShell控制台,输入如下命令解锁文件
Get-ChildItem * -Recurse | Unblock-File
执行以下命令以验证PowerCLI模块是否可用
Get-Module -Name VMware.PowerCLI -ListAvailable
2.ESXi离线包下载
VMware vSphere Hypervisor 7.0 下载地址如下:
https://link.zhihu.com/?target=https%3A//my.vmware.com/web/vmware/evalcenter%3Fp%3Dfree-esxi7%26source%3Ddwnp
需要注册vmware账号后进行授权申请,等待授权通过后才可在官网下载ESXI软件包,没有授权账号可通过分享网盘直接下载
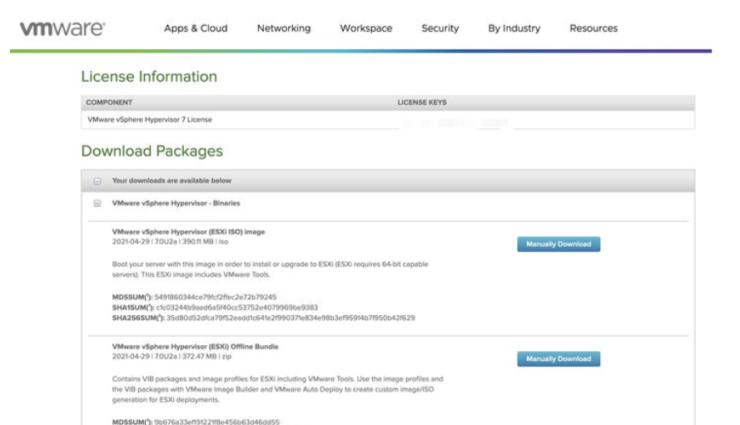
这里选择 “VMware vSphere Hypervisor (ESXi) Offline Bundle” ,用于下文制作带有Intel网卡驱动的镜像
3.Intel网卡驱动下载
ESXI目前能驱动的是Intel Ethernet Connection (7) I219-V版本,如果你的网卡版本不是7,就需要自行封装网卡驱动,比如我的网卡驱动为Intel Ethernet Connection (12) I219-V
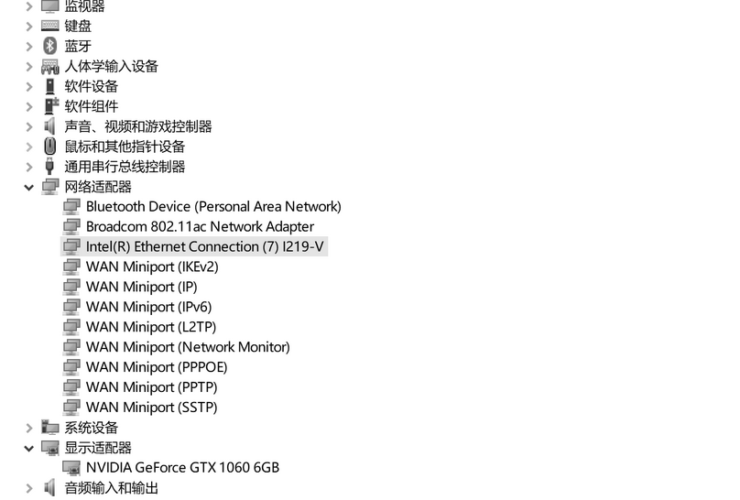
可获取最新英特尔社区网卡驱动,地址:https://flings.vmware.com/community-networking-driver-for-esxi,也可从分享网盘中下载
4.构建镜像
构建 ESXi 镜像,依赖 PowerShell 环境,虽然 PowerShell 有 Docker 镜像,但是 Docker 镜像使用的是“Core”版本的 Shell, 会导致构建命令不能够正常使用,直接运行会获得类似下面的错误信息:
Exception: The VMware.ImageBuilder module is not currently supported on the Core edition of PowerShell.
所以我们需要一台标准的Windows系统环境,来运行 PowerShell ,进行镜像构建。
以管理员身份启动一个 PowerShell,然后逐行执行以下构建命令(具体文件路径和文件名根据自身环境修改):
#设置变量
$esxiOfflineBundle = "D:\Download\VM\VMware-ESXi\VMware vSphere 7.0\VMware-ESXi-7.0U1c-17325551-depot.zip"
$newImageProfileName = "ESXi-7.0U1c-17325551-shemg20220323"
#将ESXi官方软件包添加到当前PowerCLI Session中
Add-EsxSoftwareDepot $esxiOfflineBundle
将社区版英特尔网卡驱动添加到当前PowerCLI Session中
Add-EsxSoftwareDepot "D:\Download\VM\VMware-ESXi\ESXI Pack\drivers\Net-Community-Driver_1.2.0.0-1vmw.700.1.0.15843807_18028830.zip"
将社区版固态硬盘驱动添加到当前PowerCLI Session中
Add-EsxSoftwareDepot "D:\Download\VM\VMware-ESXi\ESXI Pack\drivers\nvme-community-driver_1.0.1.0-3vmw.700.1.0.15843807-component-18902434.zip"
#查看当前ESXi镜像名称,提供给后续步骤使用
Get-EsxImageProfile
#设置ESXi镜像名称
$esxiImageProfileName = "ESXi-7.0U1c-17325551-standard"
#检索软件包
#Get-EsxSoftwarePackage
#使用当前ESXI镜像名称克隆一个模版
New-EsxImageProfile -CloneProfile $esxiImageProfileName -Name $newImageProfileName -Vendor shemg
#将模版转换为社区版
Set-EsxImageProfile -AcceptanceLevel CommunitySupported -ImageProfile $newImageProfileName
#将社区版英特尔网卡驱动添加到输出镜像模版中
Add-EsxSoftwarePackage -ImageProfile $newImageProfileName -SoftwarePackage "net-community"
#将社区版固态硬盘驱动添加到输出镜像模版中
Add-EsxSoftwarePackage -ImageProfile $newImageProfileName -SoftwarePackage "nvme-community"
#将上述镜像进行打包,并导出ESXi7.iso镜像文件
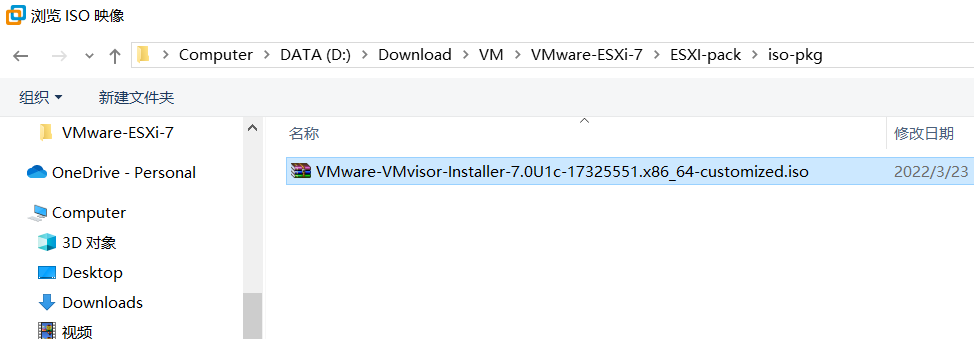
Export-EsxImageProfile -ImageProfile $newImageProfileName -ExportToIso -FilePath "D:\Download\VM\VMware-ESXi\ESXI Pack\iso-pkg\VMware-VMvisor-Installer-7.0U1c-17325551.x86_64-customized.iso"
等待最后一条命令执行完毕,你会得到一个名为VMware-VMvisor-Installer-7.0U1c-17325551.x86_64-customized.iso的镜像文件,使用USB启动盘烧录软件将镜像烧录至U盘,即可将制作的ESXI7 ISO镜像安装到裸机服务器上。
备注:
由于VSphere7.0中已经不推荐使用VMKlux驱动程序栈,意味着从Linux驱动程序(如Realtek NIC的驱动程序)构建的任何驱动程序都将无法与VSphere 7兼容而正常工作。
所以像Realtek RTL8111/RTL8168/8411等螃蟹卡在写本文章时暂时无法在VSphere7.0中识别使用,等后续官网发布兼容的驱动程序支持。
如果需要支持Realtek RTL8111/RTL8168/8411等螃蟹卡,可以使用VSphere6.7,具体构建命令如下:
#设置变量
$esxiOfflineBundle = "D:\Download\VM\VMware-ESXi\VMware vSphere 6.7\VMware-ESXi-6.7.0-8169922-depot.zip"
$newImageProfileName = "ESXi-6.7.0-8169922-shemg20220323"
#将ESXi官方软件包添加到当前PowerCLI Session中
Add-EsxSoftwareDepot $esxiOfflineBundle
#将英特尔ne1000网卡驱动添加到当前PowerCLI Session中
Add-EsxSoftwareDepot "D:\Download\VM\VMware-ESXi\ESXI Pack\drivers\Intel-NUC-ne1000_0.8.4-3vmw.670.0.0.8169922-offline_bundle-16654787.zip"
#将Realtek net55-r8168网卡驱动添加到当前PowerCLI Session中
Add-EsxSoftwareDepot "D:\Download\VM\VMware-ESXi\ESXI Pack\drivers\net55-r8168-8.045a-napi-offline_bundle.zip"
#查看当前ESXi镜像名称,提供给后续步骤使用
Get-EsxImageProfile
#设置ESXi镜像名称
$esxiImageProfileName = "ESXi-6.7.0-8169922-standard"
#检索软件包
#Get-EsxSoftwarePackage
#使用当前ESXI镜像名称克隆一个模版
New-EsxImageProfile -CloneProfile $esxiImageProfileName -Name $newImageProfileName -Vendor shemg
#将模版转换为社区版
Set-EsxImageProfile -AcceptanceLevel CommunitySupported -ImageProfile $newImageProfileName
#将英特尔ne1000网卡驱动添加到输出镜像模版中
Add-EsxSoftwarePackage -ImageProfile $newImageProfileName -SoftwarePackage "ne1000-intelnuc"
#将Realtek net55-r8168网卡驱动添加到输出镜像模版中
Add-EsxSoftwarePackage -ImageProfile $newImageProfileName -SoftwarePackage "net55-r8168"
#将上述镜像进行打包,并导出ESXi7.iso镜像文件
Export-EsxImageProfile -ImageProfile $newImageProfileName -ExportToIso -FilePath "D:\Download\VM\VMware-ESXi\ESXI Pack\iso-pkg\VMware-VMvisor-Installer-6.7.0-8169922.x86_64-customized.iso"
等待最后一条命令执行完毕,你会得到一个名为VMware-VMvisor-Installer-6.7.0-8169922.x86_64-customized.iso的镜像文件,使用USB启动盘烧录软件将镜像烧录至U盘,即可将制作的ESXI7 ISO镜像安装到裸机服务器上。
四、VMware ESXi 7安装
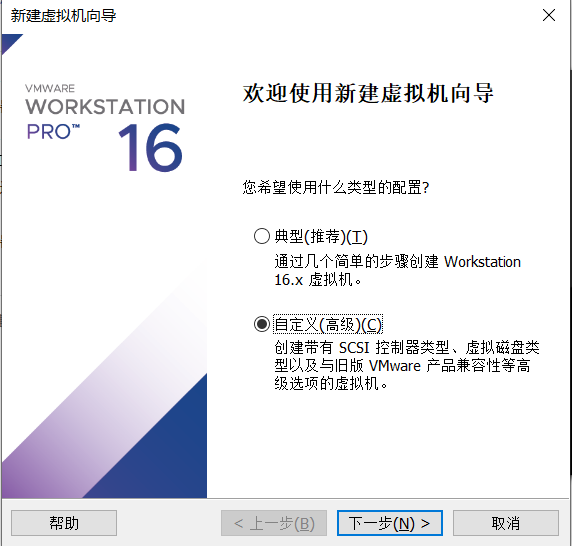
下文演示在VMware Workstation Pro中安装上文自定义构建的VMware ESXi 7镜像
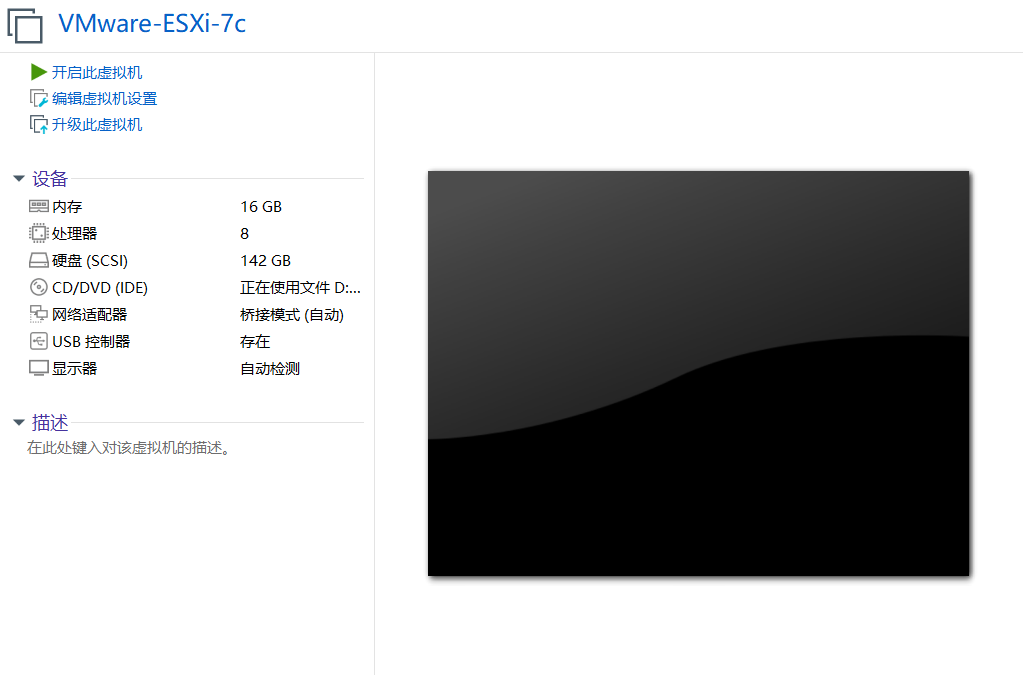
1.在VMware Workstation Pro 中创建 ESXi 虚拟机
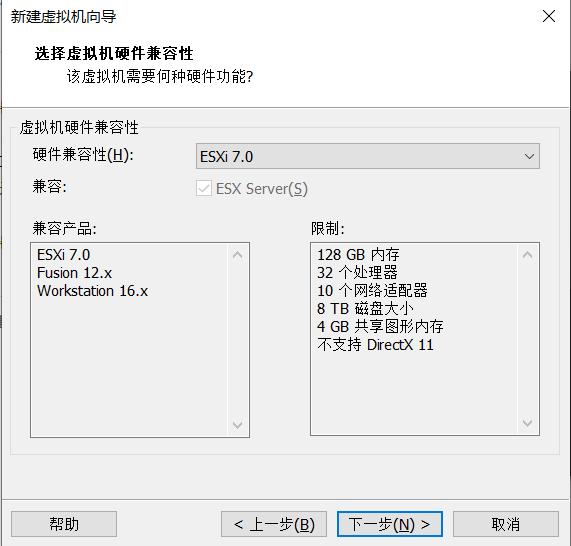
选择硬件兼容性,这里的版本选择ESXI 7.0。
选择构建的镜像
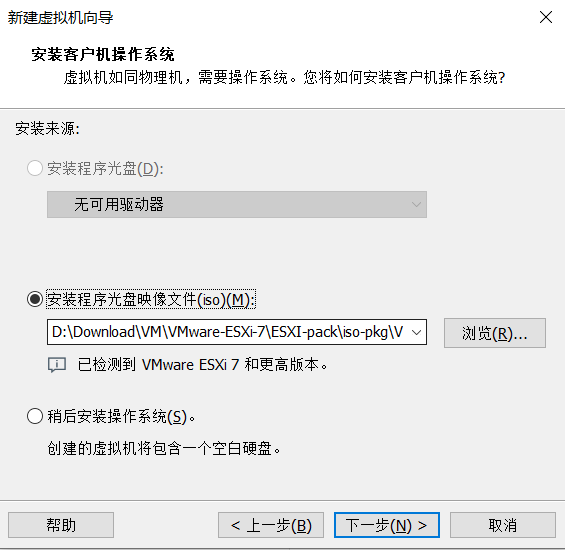
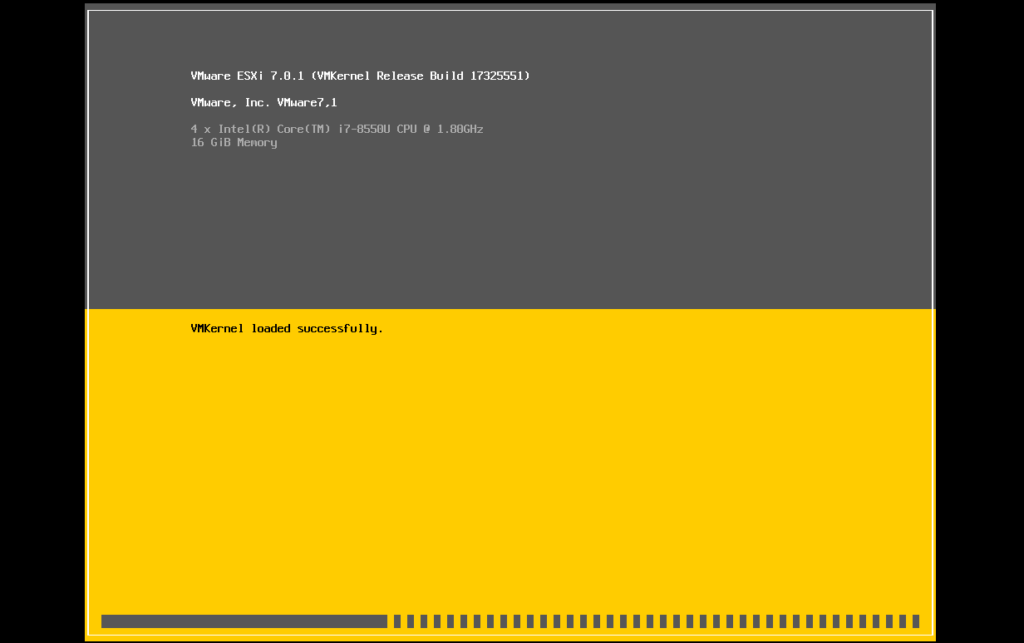
接下来就是虚拟机CPU、内存和硬盘的一些配置,根据自己的实际情况选择即可。配置好之后直接完成并启动虚拟机。启动虚拟机之后开始安装 ESXi。
ESXI 7.0引进了新的闪存机制,安装后硬盘容量会变小,如果没有配置,480G磁盘空间可能会被虚拟闪存占用130G,所以我们在系统安装时需要指定OSDataSzie的大小,这里配置为8GB,这个大小可满足VMware tools、scratch以及coredump空间的需求。
具体配置步骤:
首先,在安装时ESXI 7.0启动的第一个画面,一直按shift + O组合键(速度要快!)
然后,在显示的runweasel cdromBoot后输入autoPartitionOSDataSize=8192,回车即可,8192表示8G
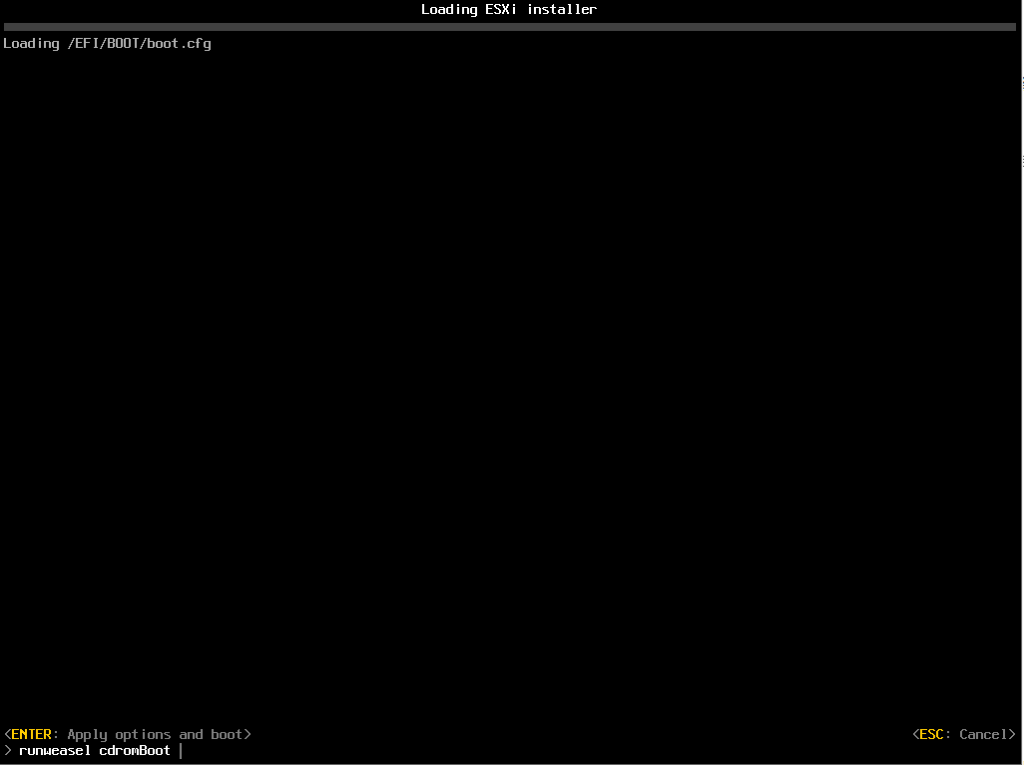
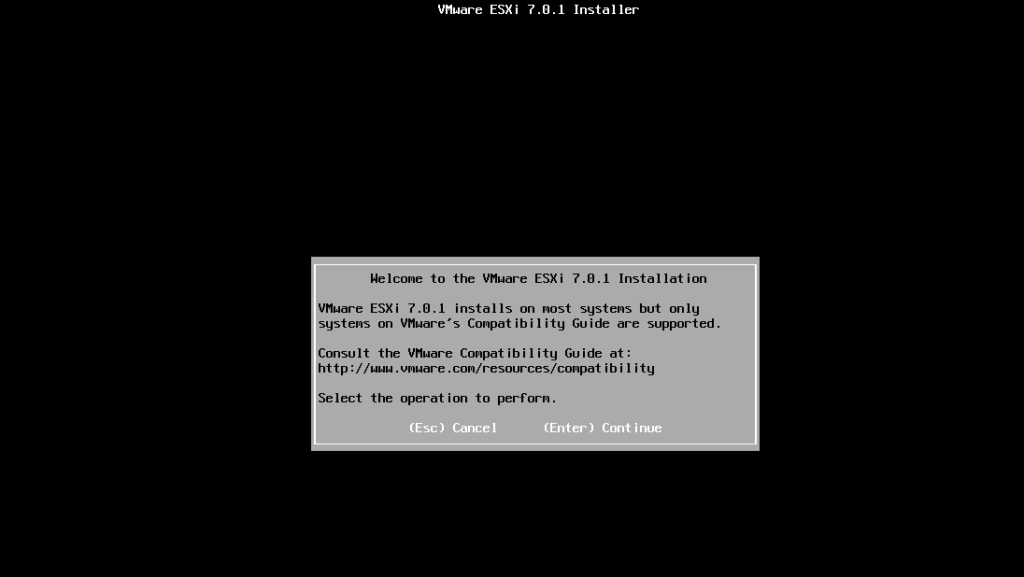
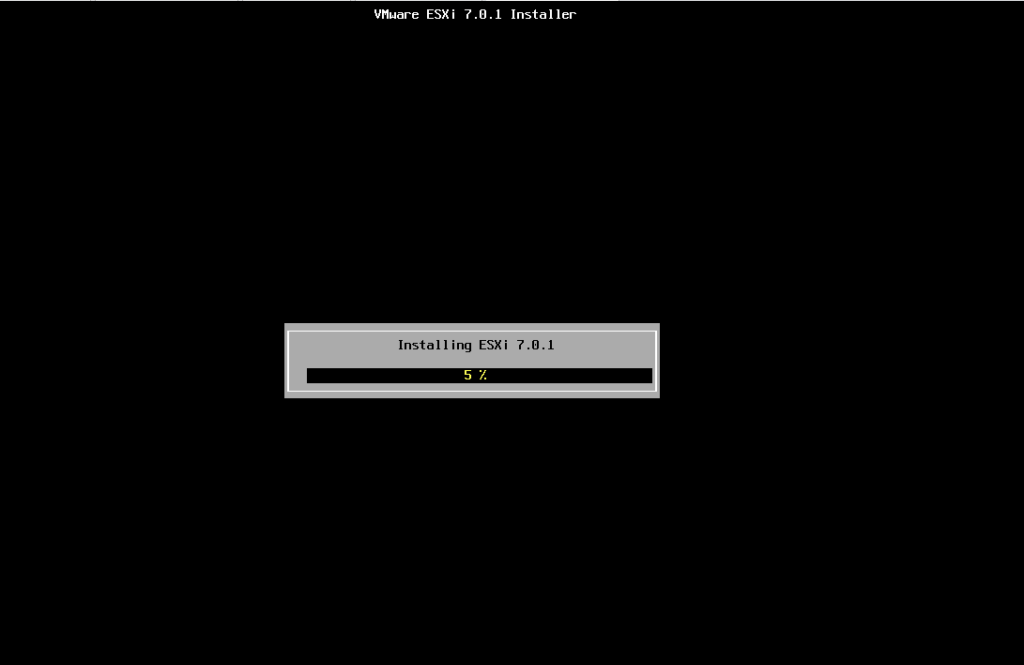
开始安装
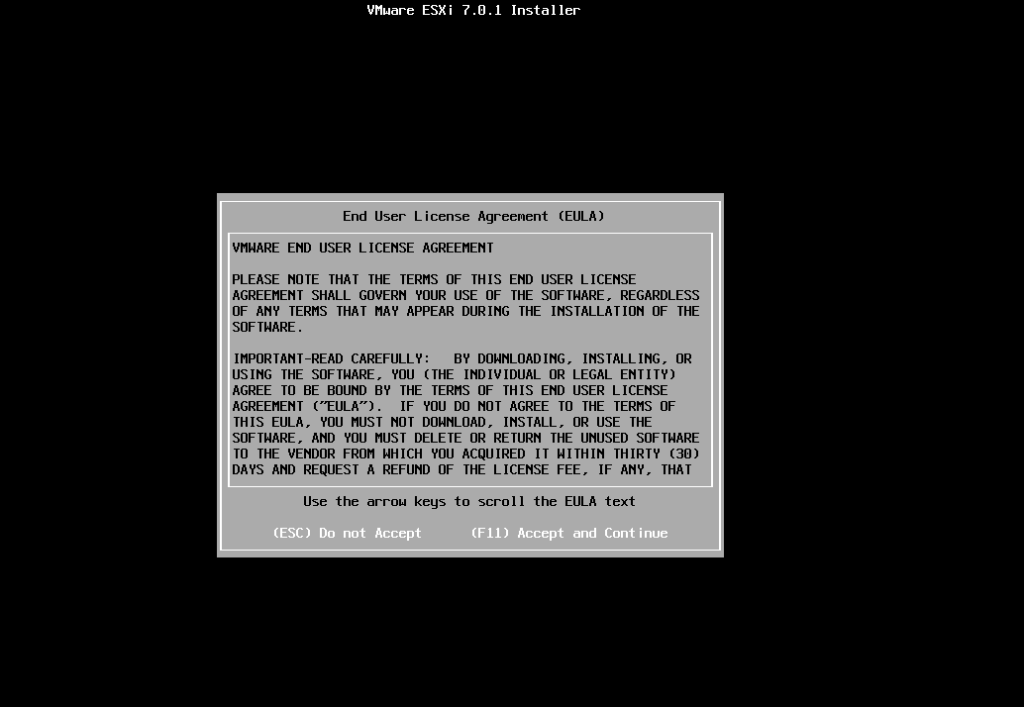
接受协议(按F11)
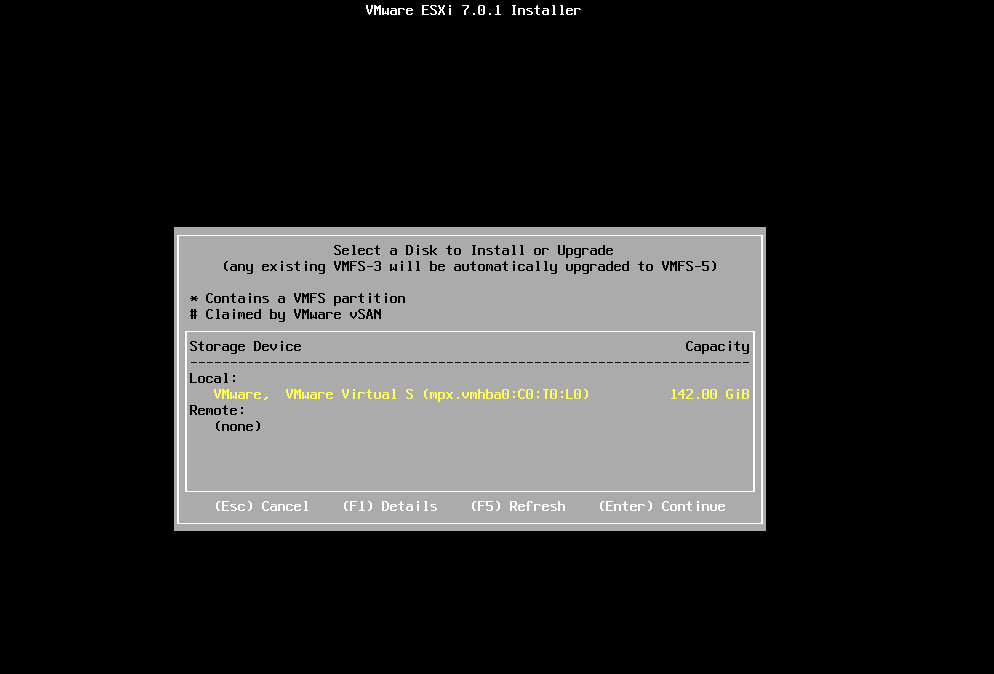
选择硬盘
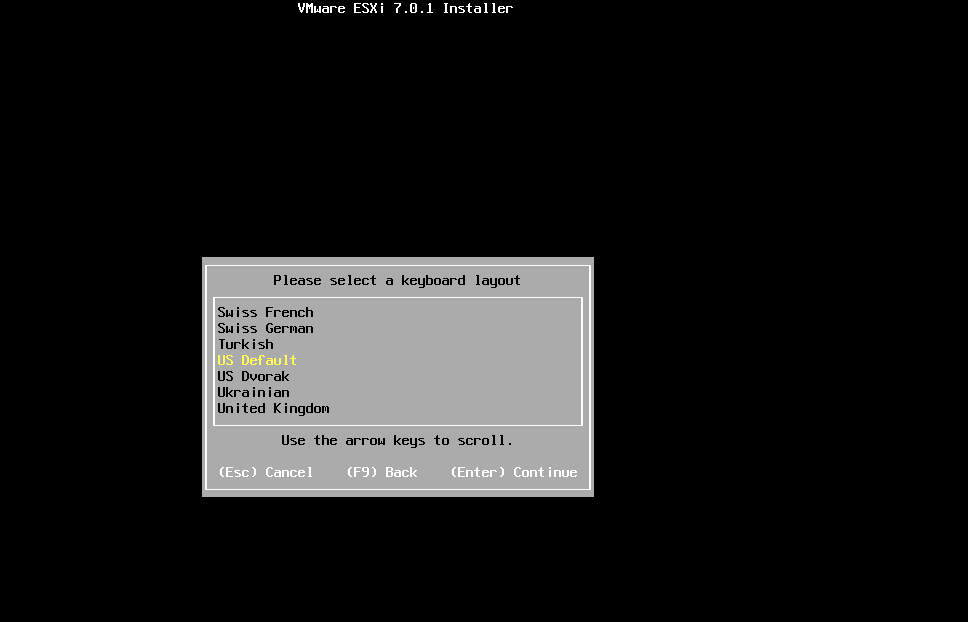
选择键盘布局,使用默认即可
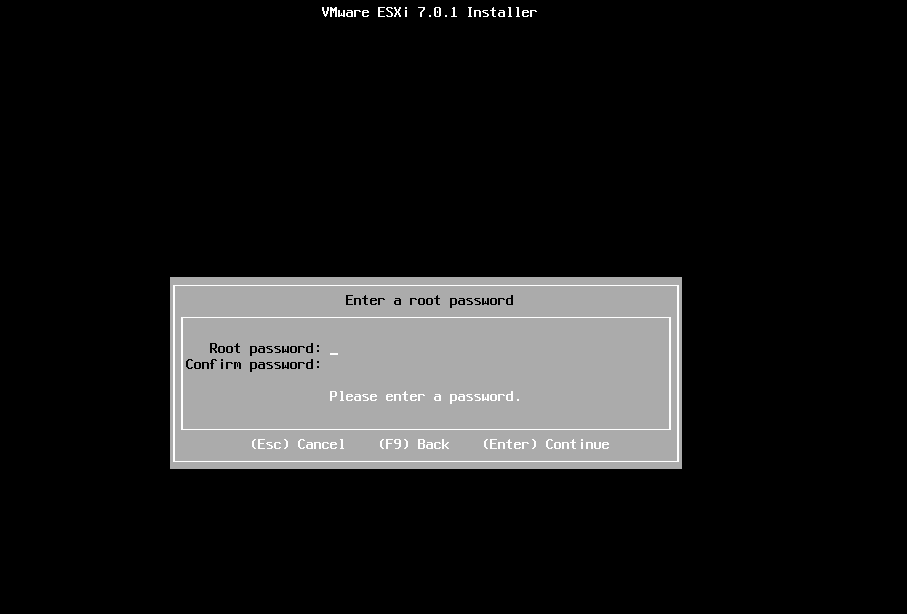
设置 root 密码(该密码可用于后续登录web后台、shell终端)
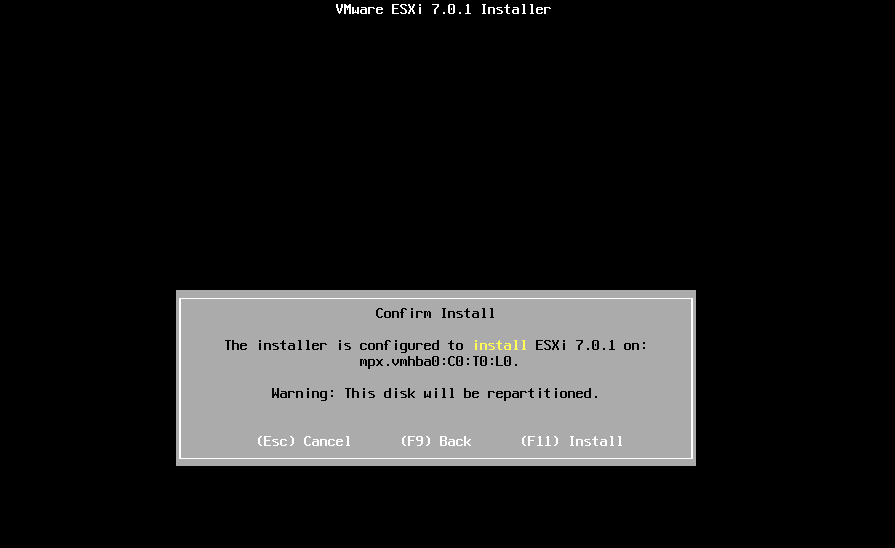
确认安装
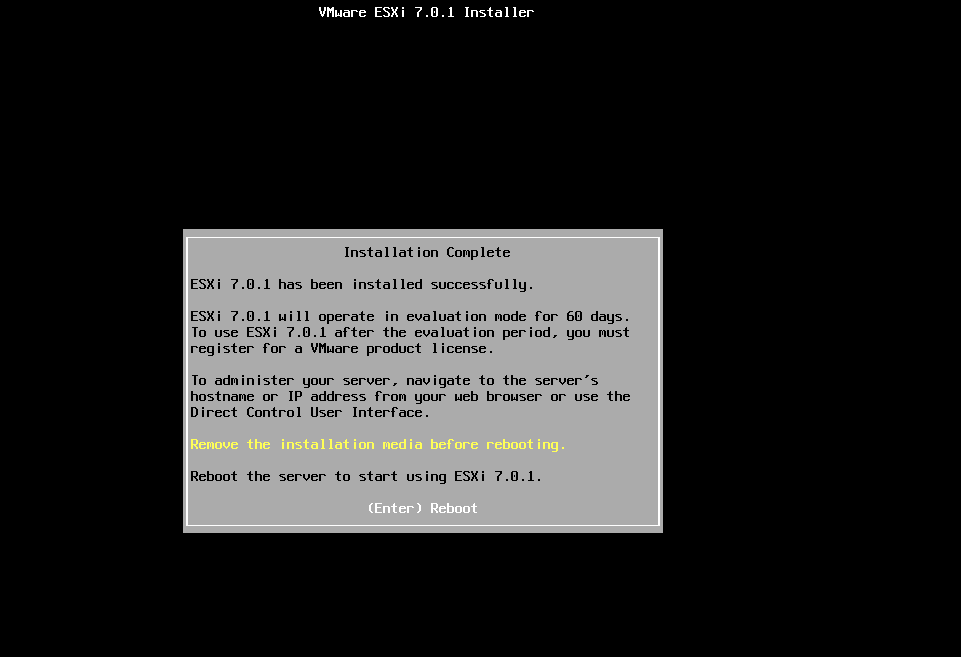
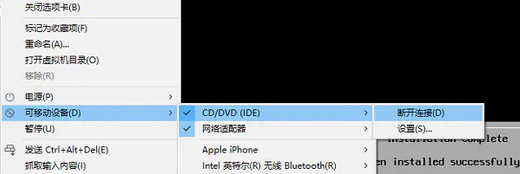
安装完成,提示移除启动盘然后重启。在虚拟机上右键,选择 CD/DVD 并断开连接。
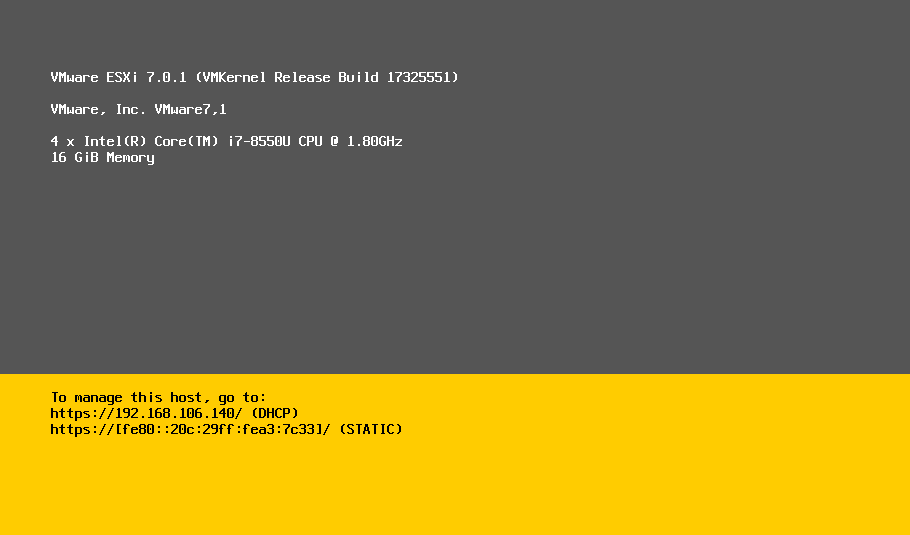
重启完成
五、VMware ESXi 7使用
1.VMware vSphere web管理后台
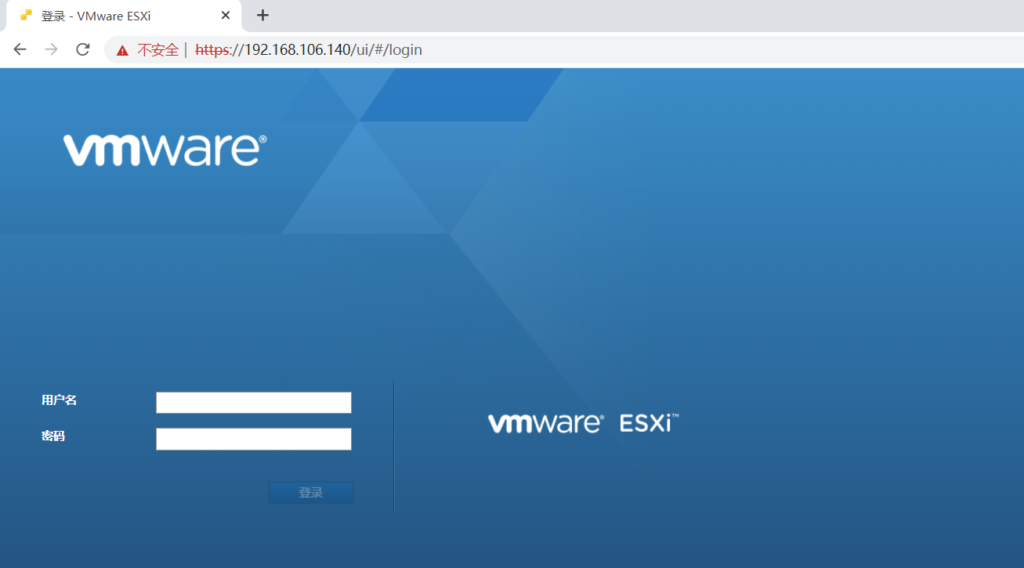
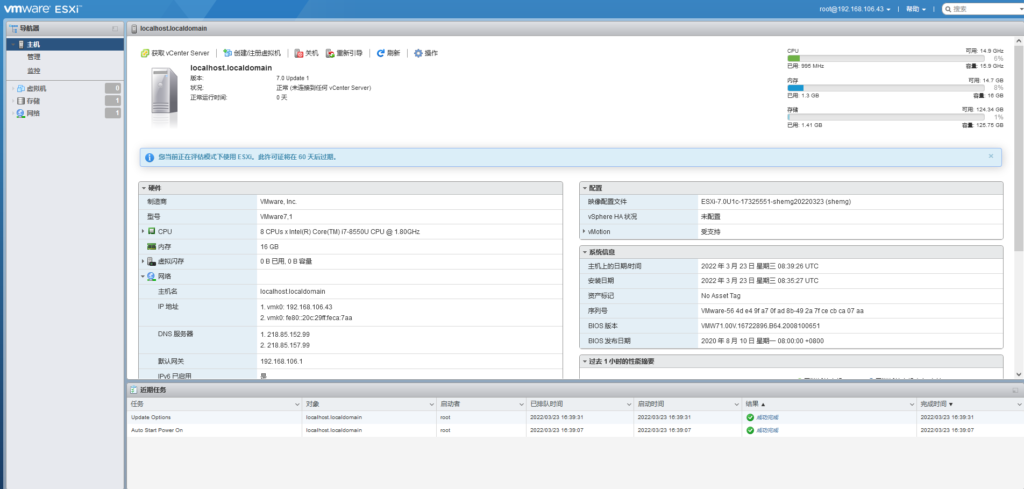
网络正常之后,通过配置的静态 ip 地址可以访问到 ESXi 的 web 管理后台,输入用户名和密码登录。
通过 web 管理后台,我们可以对主机进行管理监控,还可以管理主机中的虚拟机。
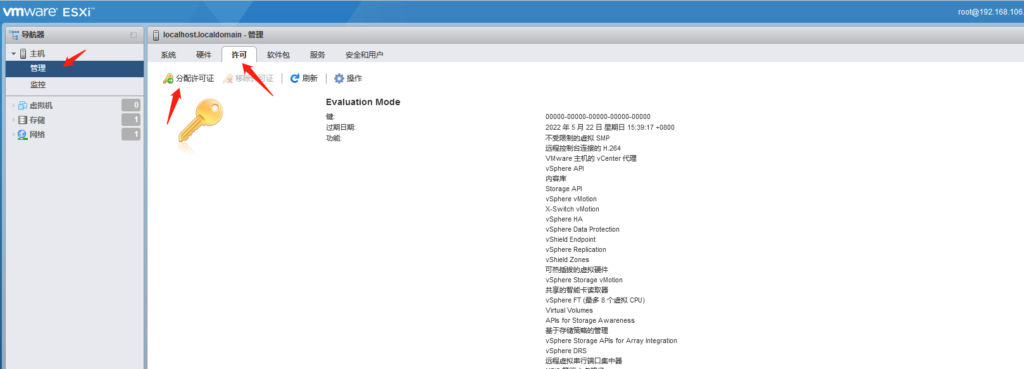
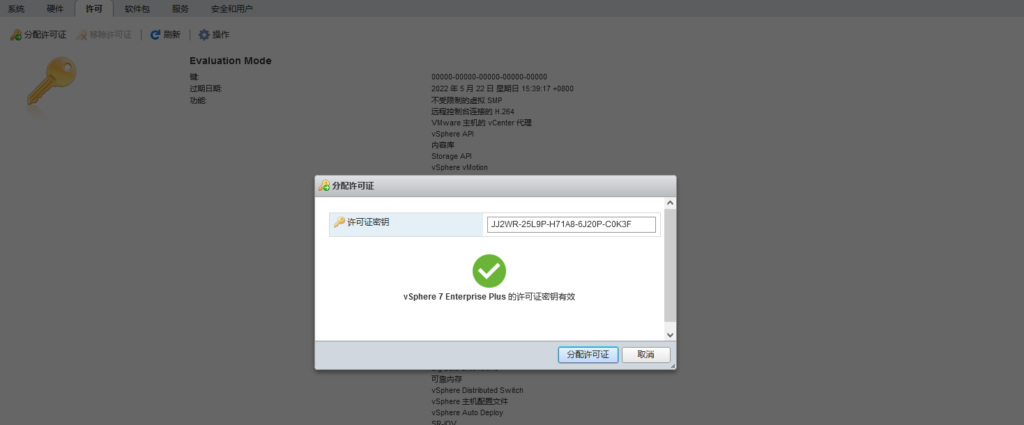
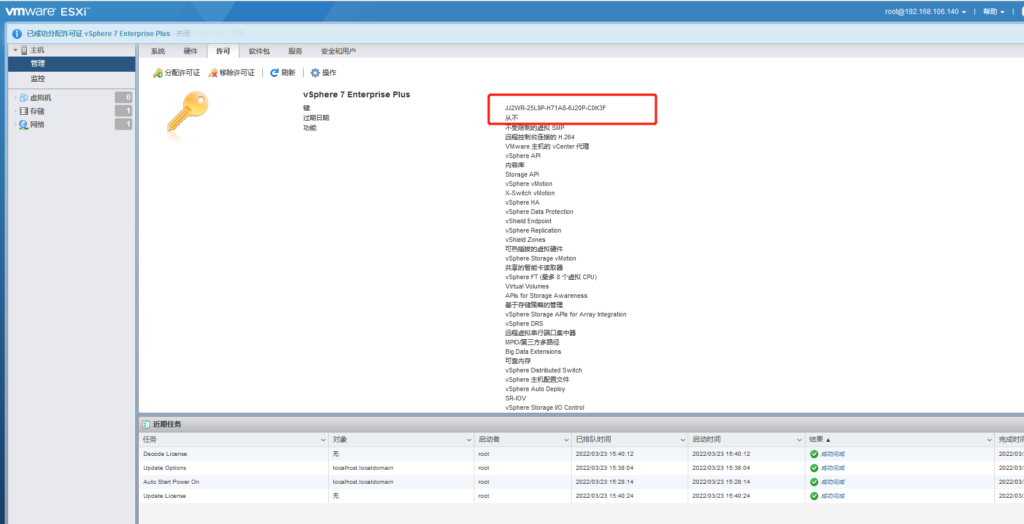
点击管理->许可->分配许可证,输入许可证秘钥进行激活
2.在 VMware vSphere 中创建虚拟机
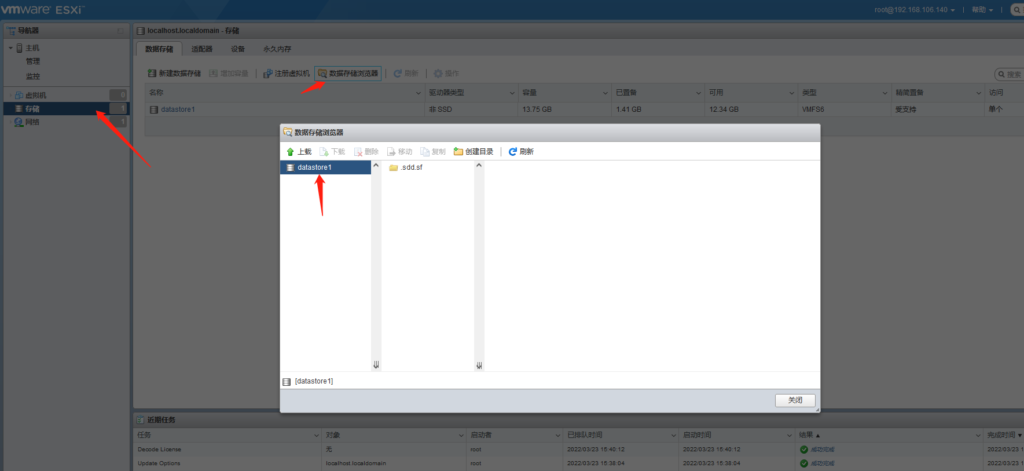
首先需要上传想要安装的系统镜像到 vSphere 中。选择存储->数据存储浏览器->上载,然后选择本机下载好的镜像即可。
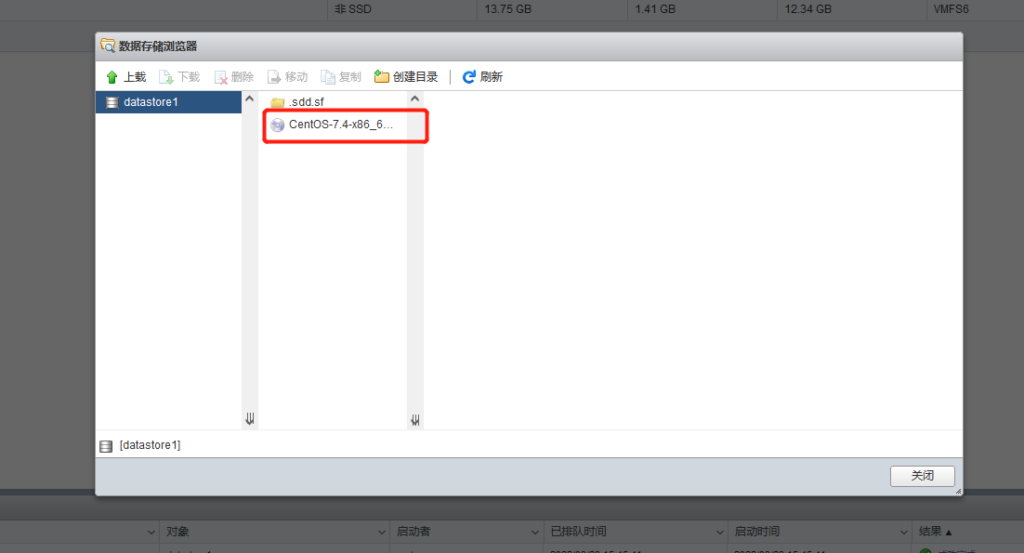
上传完毕就可以看到该镜像
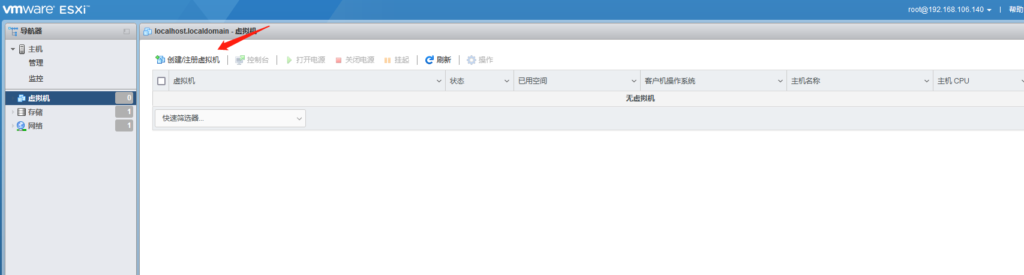
点击虚拟机->创建/注册虚拟机按钮开始创建。
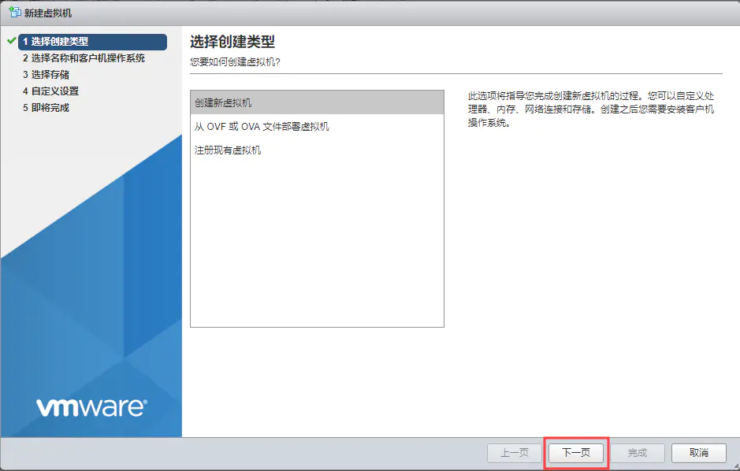
选择创建新虚拟机
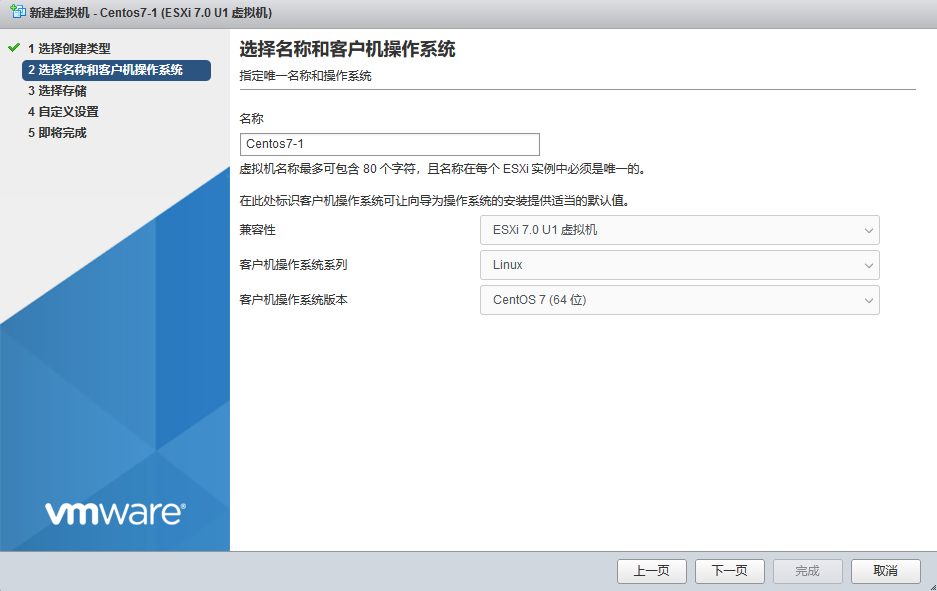
填写虚拟机名称、系统版本等信息
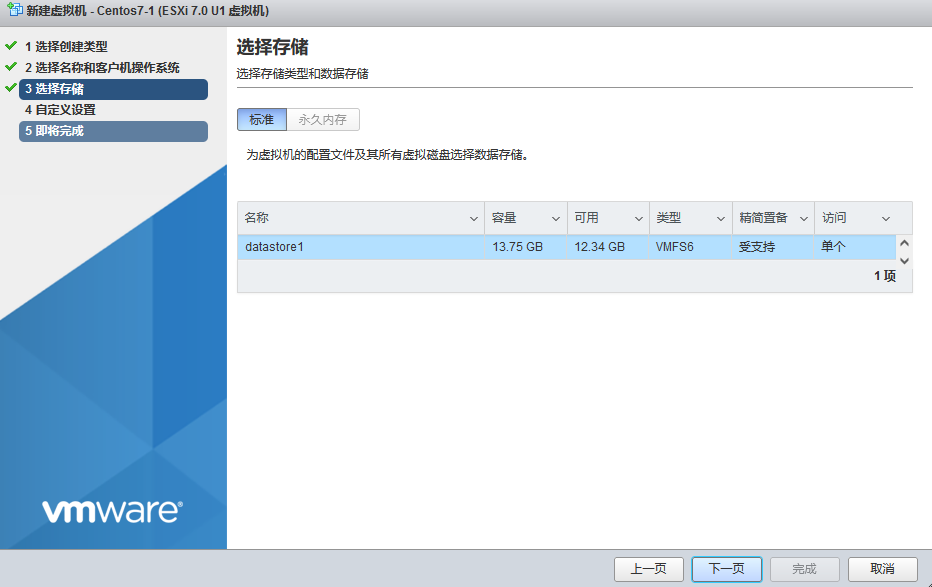
选择存储,使用默认即可
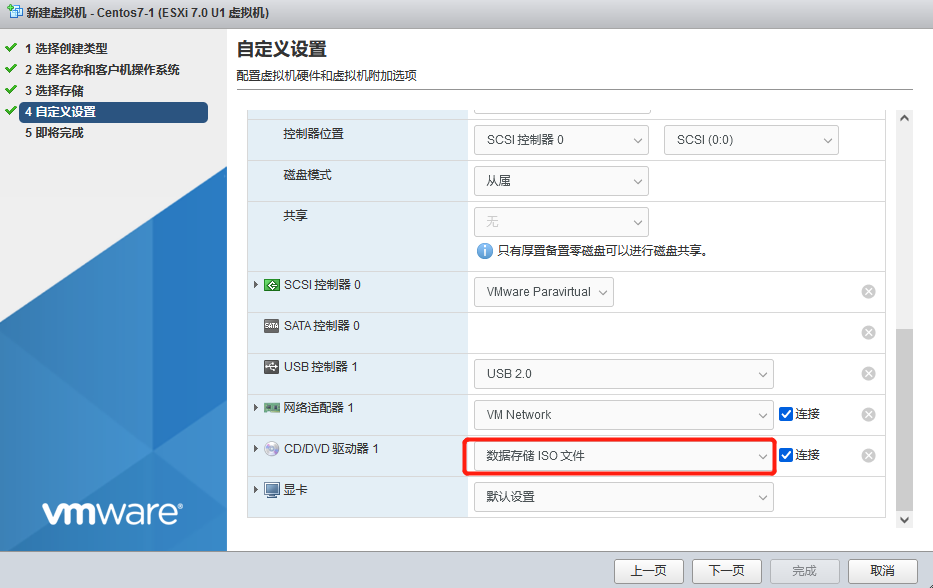
设置虚拟机的 CPU、内存、硬盘等信息,这里需要注意在 CD/DVD 驱动器中选择数据存储 ISO 文件,然后选择在第一步中上传的虚拟机
设置完成后点击下一页->完成即可
虚拟机创建完成之后,我们就可以在虚拟机菜单中看到该虚拟机。选中该虚拟机点击打开电源按钮启动虚拟机,开始虚拟机操作系统的安装。
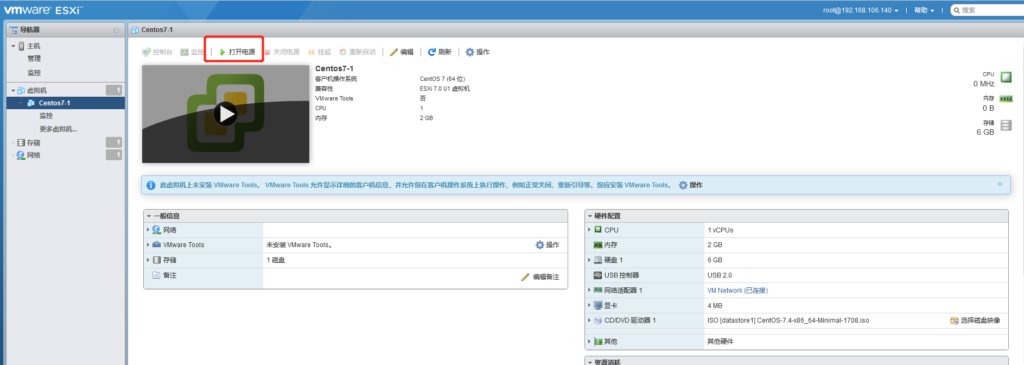
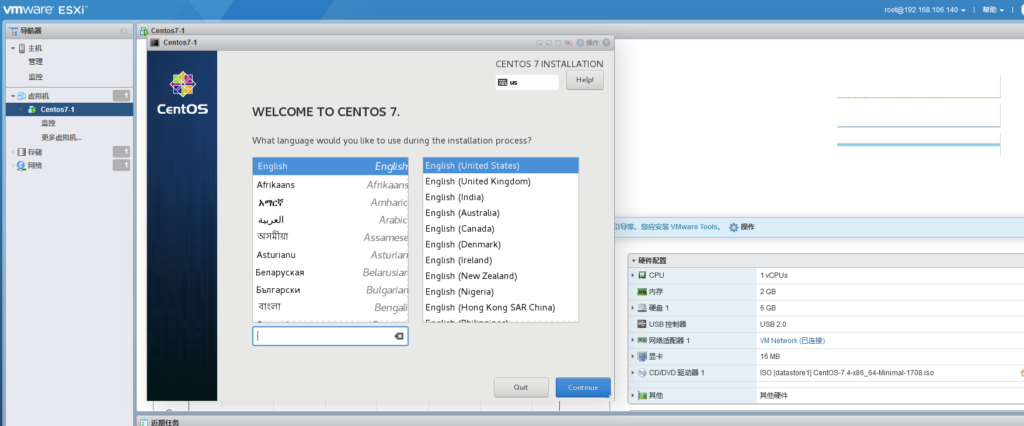
启动之后点击下方的小窗口可以打开虚拟机的浏览器控制台,看到虚拟机的界面或者终端。

打开控制台之后,可以看到已经开始安装CentOS系统了。CentO的具体安装过程这里就不介绍了。
虚拟机系统安装完成后,重启时会提示移除镜像,查看虚拟机的配置,取消镜像的连接(默认会自动取消连接)然后回车即可。
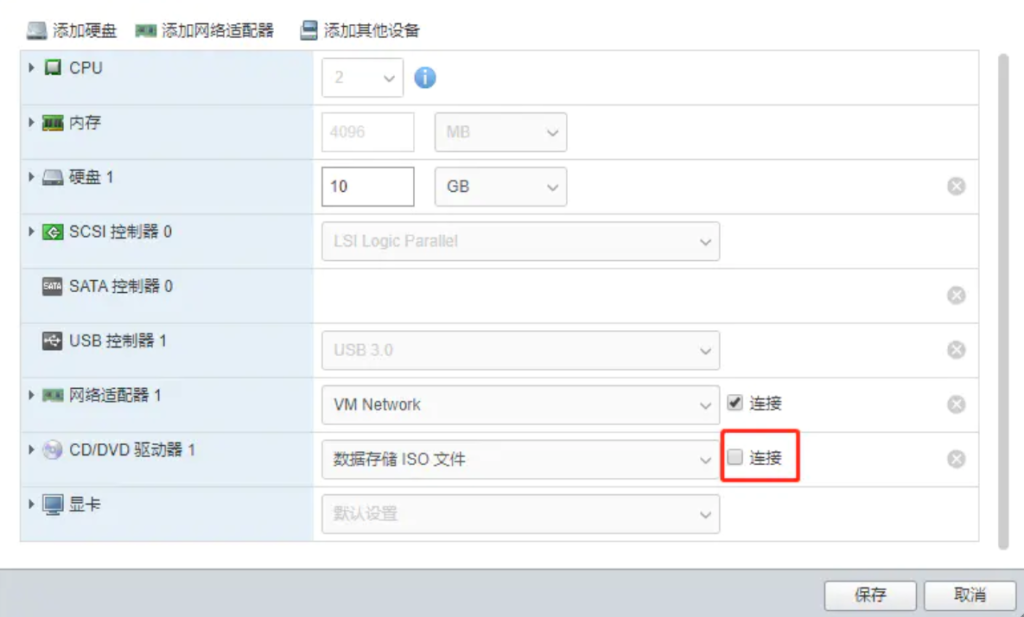
重启之后可以正常使用虚拟机系统了